Nix’s Ultimate Tattoo Aftercare Guide
Firstly, congratulations on your new tattoo!
Proper tattoo aftercare is the single most important factor in locking in pigment preventing infection, and ensuring your ink looks bold and sharp for a lifetime.
If you are wondering exactly how to take care of a new tattoo, you’re in the right place. This step-by-step, day-by-day guide will walk you through the entire tattoo healing stages so you can protect your investment.

The First 24 Hours | The Critical Window
Your new tattoo is essentially an open wound, making the first 24 hours crucial for preventing bacteria from entering the skin.
1. Leave the Bandage On
Before you leave the studio, I wrap your tattoo in either traditional plastic wrap/gauze or a medical-grade transparent adhesive bandage (Saniderm or Tatu-Derm).
For traditional wraps: Leave it on for 2 to 5 hours.
For transparent adhesive barriers (second skin): Leave it on for 2-5 days depending on how much fluid (plasma and weeping ink) accumulates.
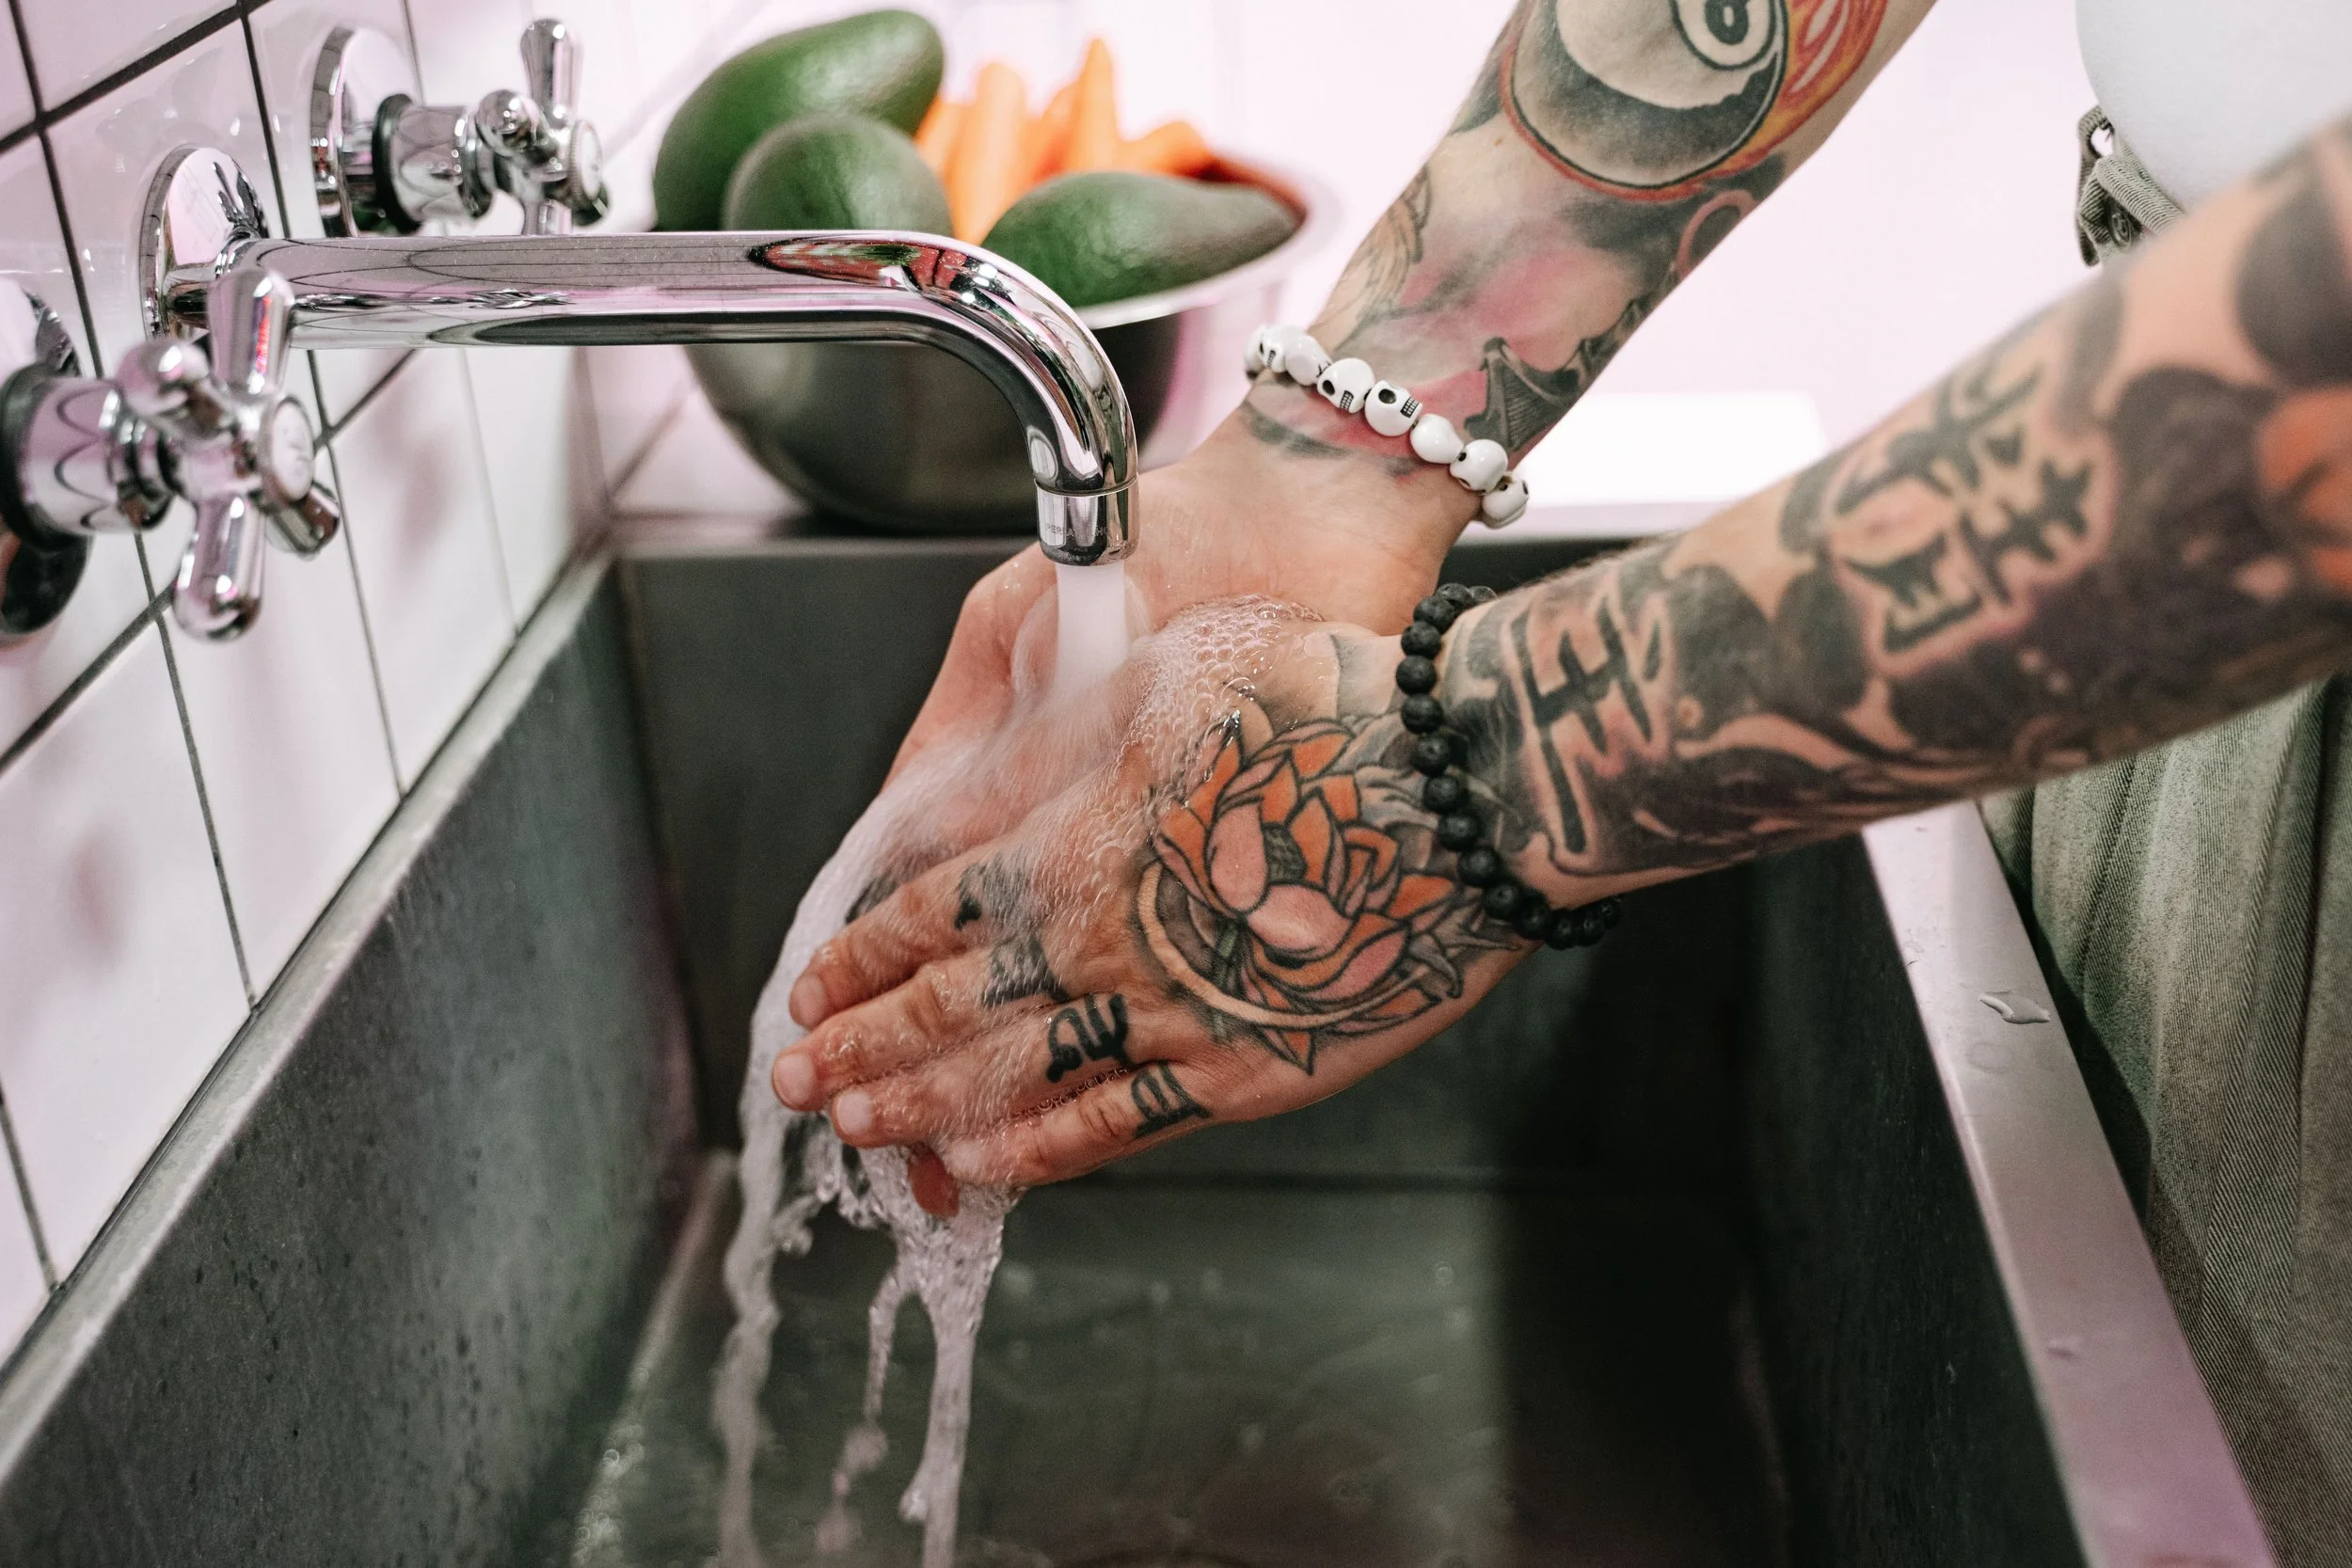
2. The First Wash: Be Gentle
When it’s time to remove the bandage, do so inside the shower with clean hands.
Gently peel back the wrap to remove it. Do not rip it off.
Wash the tattoo using your bare fingers, lukewarm or cool water, and a mild, fragrance-free antibacterial soap.
Never use a washcloth, loofah, or sponge, as they harbor bacteria and are too abrasive.
Gently rinse away all excess ink, plasma, and dried blood.
3. Pat Dry. Don't Rub
After rinsing, gently pat the area dry with a clean, single-use paper towel. Avoid bath towels, which can transfer lint and bacteria. Let the tattoo air-dry completely for 15 minutes before moving to the next step.
How to Moisturize Your New Tattoo
During the first week, your skin is actively working to close up and begin the deep healing process.
Master the Moisture Balance
The golden rule of tattoo aftercare is to keep the skin hydrated without suffocating it.
Apply a thin layer: Apply a very thin layer of a dedicated tattoo aftercare balm (such as Recovery Tattoo Salve or Hustle Butter) or a trusted ointment like Aquaphor.
Don't over-apply: Your tattoo needs to breathe to heal. If it looks shiny or wet, you’ve applied too much. Gently blot away the excess with a paper towel.
Clean and apply 2–3 times a day: Wash, dry, and lightly moisturize your tattoo a few times a day to prevent it from drying out completely.
What to Avoid: Absolutely avoid Vaseline or 100% petroleum jelly. These heavy products clog pores, trap moisture and bacteria, and can actually leach ink out of the skin, leading to fading or a tattoo blowout.
Week 2 & 3 | The Peeling and Itching Stage
Around day 5 to 7, your tattoo will stop looking shiny and begin to change texture. This is completely normal!
The Flaking & Peeling
Your tattoo will begin to flake, peel, and look a bit like a sunburn. The flaking skin will be tinted the color of your tattoo ink. Do not pick, scratch, or peel the skin. Forcing dead skin off prematurely can pull the ink out of the deeper layers, leaving permanent blank spots in your design.
How to Survive the Tattoo Itch
As the skin tightens and heals, it will itch. To soothe the irritation safely:
If you haven’t already done so, switch from a heavy balm to a fragrance-free, water-based tattoo aftercare lotion (like Lubriderm, Aveeno, or Tattoo Goo Lotion).
If the itching becomes unbearable, gently slap the tattoo with a clean hand instead of scratching it.
Week 4 and Beyond | Long-Term Maintenance
By week four, your tattoo should be fully peeled and smooth to the touch. However, the deeper layers of skin take up to 4 to 6 months to completely regenerate.
The Ultimate Enemy: Sun Exposure
UV rays break down tattoo pigments faster than anything else.
During healing: Keep your tattoo completely out of direct sunlight. Do not apply sunscreen to a fresh, peeling tattoo.
After healing: Once the skin is fully healed, always apply a broad-spectrum SPF 30 or higher sunscreen whenever you go outside. This keeps your lines crisp and stops colors from fading over the years.
